
I keep my calendar on my computer so that I always have access to it, but my husband prefers a physical calendar. So I decided to make one for him! I used a giant picture frame, added some vinyl to the back of the glass, and voila: instant DIY dry erase calendar!


I love this idea because it is quick and easy to make, and it’s so functional! One thing that annoys me about paper calendars is that as you get near the end of the month you have to keep flipping back and forth between the current month and the next to see what’s coming up. But with this dry erase calendar the weeks that show are totally adjustable, so you could have it show the second half of August and the first half of September all at the same time if you want!
DIY Customizeable Dry Erase Calendar
Here’s what you need to make your own dry erase calendar: (affiliate links below to the products I use and recommend)
- large picture frame (make sure it has glass covering the front, not plastic)
- black adhesive vinyl
- transfer paper
- Silhouette cutting machine
- paper backing (scrapbook paper, plain paper, or wrapping paper works great for this!)
By the way, this month Expressions Vinyl is sponsoring the Creativity Unleashed link party every Thursday night starting at 7pm ET! They are an amazing online source for vinyl and related supplies and I get all of my vinyl there. You can check out everything I’ve made using heat transfer vinyl or adhesive vinyl if you want some inspiration!
Every week this month Expressions Vinyl is giving away a $50 gift card, so if you’ve been thinking about getting started with some fun vinyl projects, now is the time! Make sure you stop by the Creativity Unleashed link party every Thursday starting at 7pm ET to enter for your chance to win!
Start by designing your dry erase calendar. If you like the design I created (with a calendar, a to do list section, and a banner at the top) you can download the free cut file here. If you design your own, remember that you’ll be working on the inside of the picture frame, so your design needs to be mirrored when you cut it out, otherwise it will appear backwards when you look into the picture frame like normal!
You can always cut out vinyl with scissors or an X-acto knife, but for something as detailed as this I love using my Silhouette Cameo! It acts like a printer, but instead of printing your design, it cuts it out with a small blade.
Once your design is cut, take the back off the picture frame and clean the back side of the glass to make sure the vinyl sticks well.
Weed away all the extra vinyl, leaving just your calendar design on the paper backing. Then, take a large sheet of transfer paper, peel the backing off the transfer paper, and stick it to the front of the adhesive vinyl design.
Press down firmly to make sure the transfer paper sticks to the adhesive vinyl, then carefully peel the transfer paper up. The adhesive vinyl should come away from the backing with it.
Position the design where you want it on the inside of the glass and press down firmly (there’s no need to press down where there’s only transfer paper; focus on pressing down over your design to make sure that part sticks!) Gently peel away the transfer paper, making sure that the adhesive vinyl stays stuck to the glass.

Once all pieces of your design are on the glass, add paper backing inside the picture frame to give your calendar a nice background. I just used a piece of ivory wrapping paper, but you can get fancy with patterned scrapbook paper if you want.
Put your picture frame back together, and you have a DIY dry erase calendar!

Hang it on your wall and start getting organized!
One quick note: dry erase markers are not the same as wet erase markers, so be careful which you’re using on your calendar! Actually, if your calendar is glass, you could use wet or dry erase markers; either will come off of glass, though remember that dry erase markers will erase with an eraser or paper towels whereas wet erase markers only erase with a damp cloth.

If your DIY dry erase calendar starts to get a little dirty and you see “ghost” lines even after you’ve erased the board, you can try cleaning the glass with a commercial dry erase cleaner or even a little bit of rubbing alcohol on a cotton ball.

Want to share this tutorial with your friends? Just click any of the share buttons on the left to share with Facebook, Pinterest, Twitter, etc.!
If you want to see more Silhouette tutorials, check out my Silhouette project gallery to see every project I’ve ever done with my Silhouette, or check out some of my favorites below!


Want to Check Out More Silhouette Projects?
My Silhouette Challenge buddies and I are all sharing projects on our blogs today, so peruse the projects below for a wealth of Silhouette inspiration!
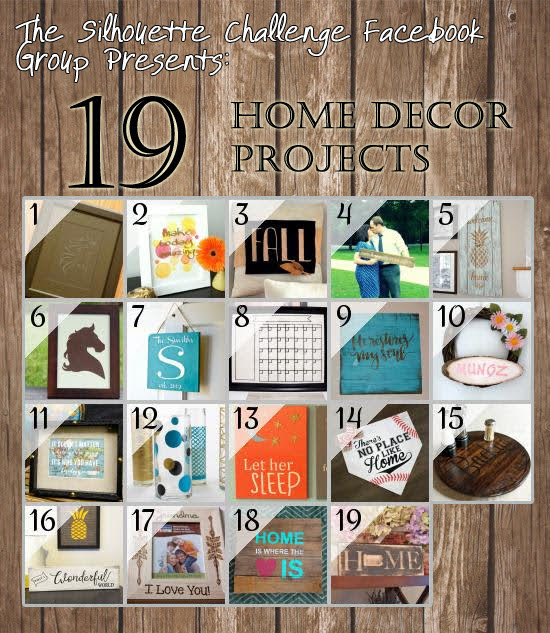
1. Whatcha Workin’ On? // 2. Two Purple Couches // 3. Made in a Day // 4. Ginger Snap Crafts // 5. Architecture of a Mom // 6. Simply Kelly Designs // 7. Crafty Bonds // 8. Practically Functional // 9. DailyDwelling // 10. DIY Just Cuz {Sam} // 11. unOriginal Mom // 12. Decor Adventures // 13. Creative Ramblings // 14. My Paper Craze // 15. Where The Smiles Have Been // 16. Get Silvered // 17. DIYJustCuz {Brittany} // 18. Weekend Craft // 19. Create & Babble


Dessie says
Hi there! I’m really excited to try this on my silhouette. I’m a beginner tho, could you answer a question for me? My machine only cuts mats that are 12″ wide. How do you get the entire design to cut at once? Or do you have to cut it in pieces and put it together? Thanks for the tutorial! I’m excited to hear back so I can get started!
Jessi Wohlwend says
Hi Dessie! Yep, you have to cut it out in sections, and then slightly overlap the sections to line them up. The easiest way is to make your design in the Silhouette software full size, however large you want it. Then line up the design in one corner of the cuttable area in the software and send it to the machine. Then move the design over so that there is about 1/2″ overlap, and cut again. And so on and so on until the entire design is cut. Good luck!
Angeline P says
I made a flow chart for my office but this seems way cuter! Thank you for sharing this with us 🙂
Emily @ Two Purple Couches says
So smart! Yours turned out great! I like keeping a paper or physical calendar in our kitchen so everyone (i.e. the hubs) knows which days that month we have appointments and plans.
Brittany @ DIY Just Cuz says
Great idea!! I am like you, and prefer my calendars to be online or on my computer but something like this would be great for meal planning as well (which I’ve been looking for!). Thanks for sharing!!
Meredith @ unOriginalMom says
I love using my Silhouette to make pretty things to stay organized 🙂 This is a great idea, and being able to switch out the background paper in the frame is so fun! Thanks for sharing!
Eff @ Whatcha Workin' On? says
A few years ago we had actual dry erase board strips (one per week, broken up into days) that we rotated on the fridge—the finished week from the top would be moved to the bottom to roll the calendar forward. I loved it, but it eventually wore out and I’ve been looking for one like it ever since. It hadn’t occurred to me to *make* one with the Silhouette. Thanks for the idea!