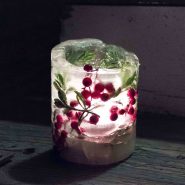
How To Make Ice Lanterns or Ice Candles
Ice lanterns are a beautiful way to decorate for winter, and you can make these for under $5! Learn how to make ice candles by following these simple instructions.
Active Time 15 minutes
Freezing Time 8 hours
Total Time 8 hours 15 minutes
Yield 1 candle
Cost $5
Equipment
- diagonal cutters
Materials
- 2 empty tin cans one small enough to fit inside the other with at least 1/2" of space between the two cans on hte sides and at hte bottom
- faux greenery and berries
- rocks or another small, heavy item
- tape
- 1 tea light candle
Instructions
- Clean both tin cans and remove the labels. It's ok if some of the label residue remains.

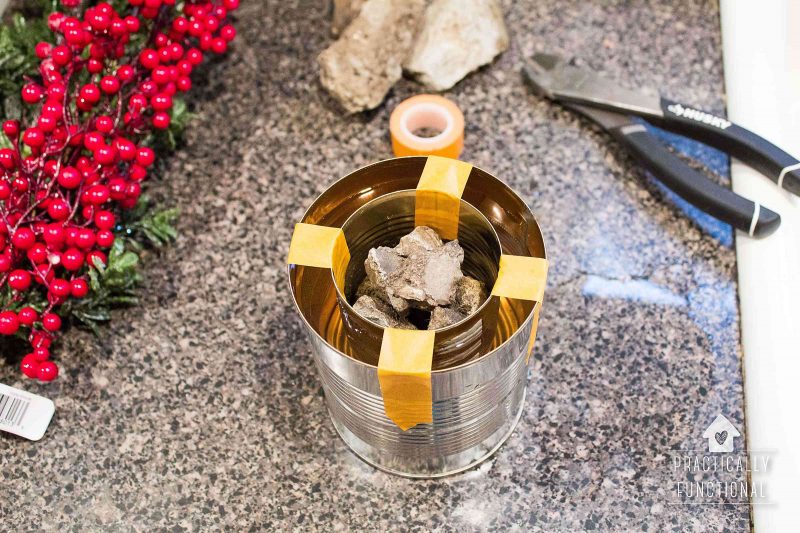
- Put a small amount of water (about 1/2 C) into the larger tin can. Then put the smaller tin can inside the larger one so that it floats on the water.
- Add a few rocks to the smaller tin can to hold it down so that the tops of both cans are level. Then add tape on all four sides to help hold the smaller tin can centered within the larger one.
- Cut apart the greenery and berries into "sprigs" and stick them down into the water between the two cans, wedging them between the cans so they don't all float to the top.
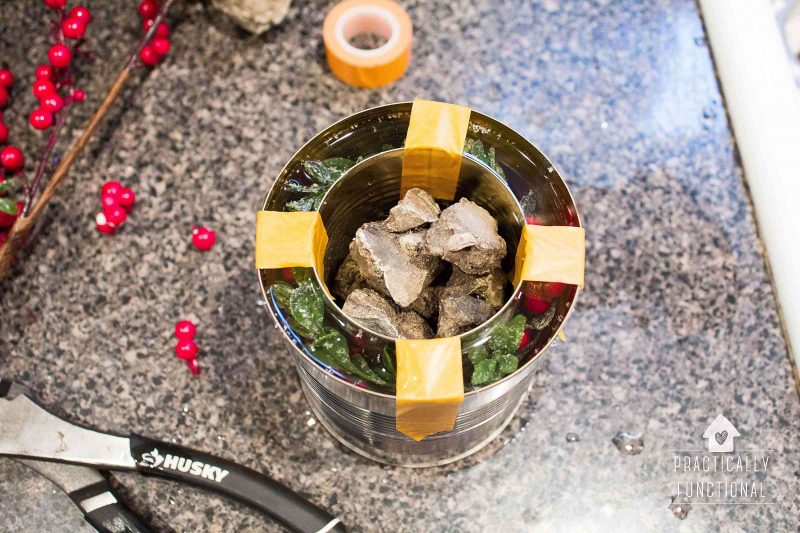
- Add water between the cans until the water is about 1/2″ to 1″ below the top of the can.
- Put the cans outside or in the freezer overnight to freeze.
- Run slightly warm water over the outside of the larger can and inside of the smaller can to help loosen the ice. Once the outsides melt a little bit you should be able to slide the ice candle right out of the tin can mold.
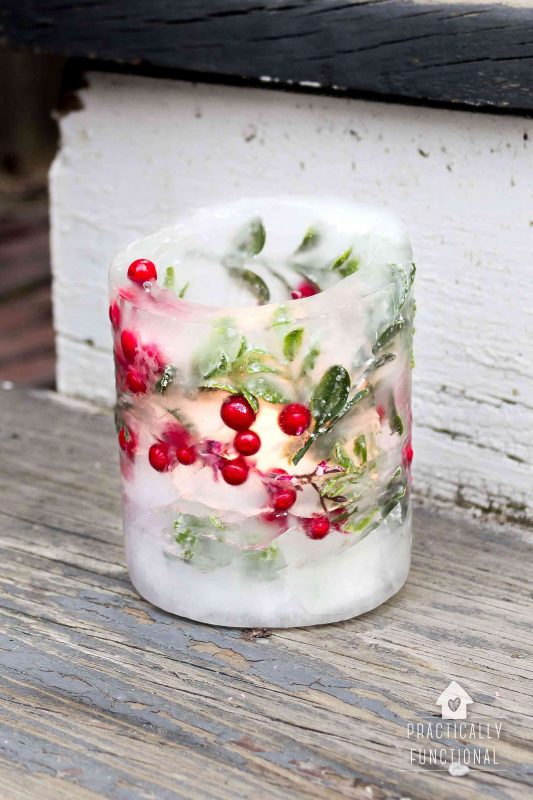
- Place a small tea light in the ice lantern, light it, and enjoy the glow of your ice candle!
Notes
Remember, water expands as it freezes, so don’t fill the cans too full or the water will overflow as it turns to ice.
Save your favorite projects!
Create a free account to easily save your favorite projects, tutorials, and recipes.
Create Account