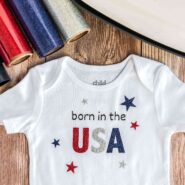
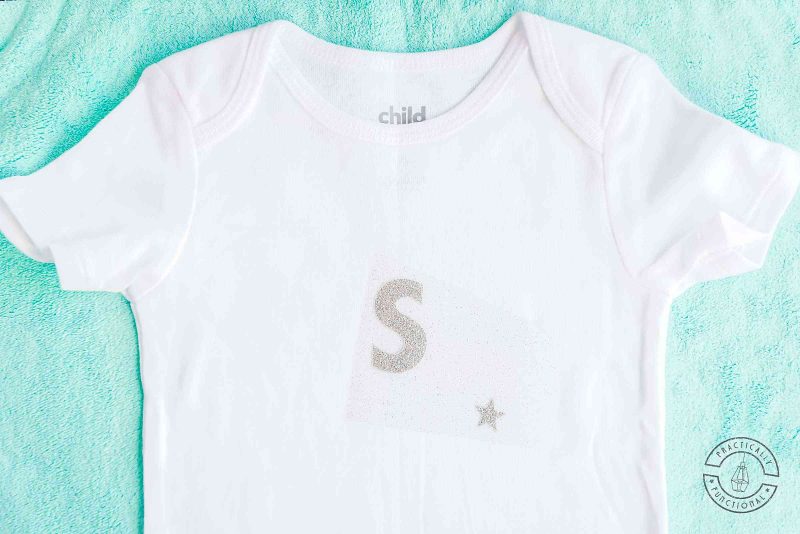
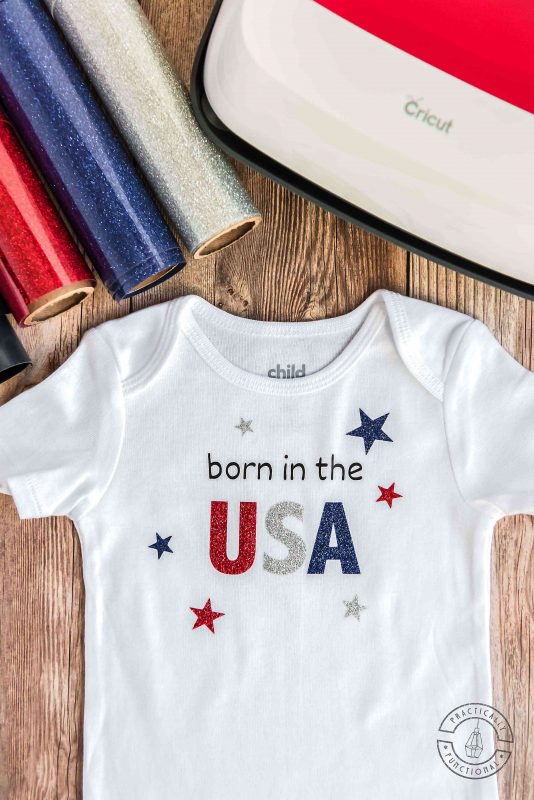
Simple DIY "Born In The USA" Baby Onesie
Make these cute, simple "Born In The USA" baby clothes for 4th of July or Memorial Day; they make great baby shower gifts for friends and family!
Active Time 10 minutes
Cricut Cutting Time 10 minutes
Total Time 20 minutes
Yield 1 baby onesie
Cost $8
Equipment
- Cricut EasyPress Mat
- "Born In The USA" SVG file
Materials
- 3 sheets glitter heat transfer vinyl red, blue, and silver
- 1 sheet matte heat transfer vinyl black
- 1 plain baby onesie
Instructions
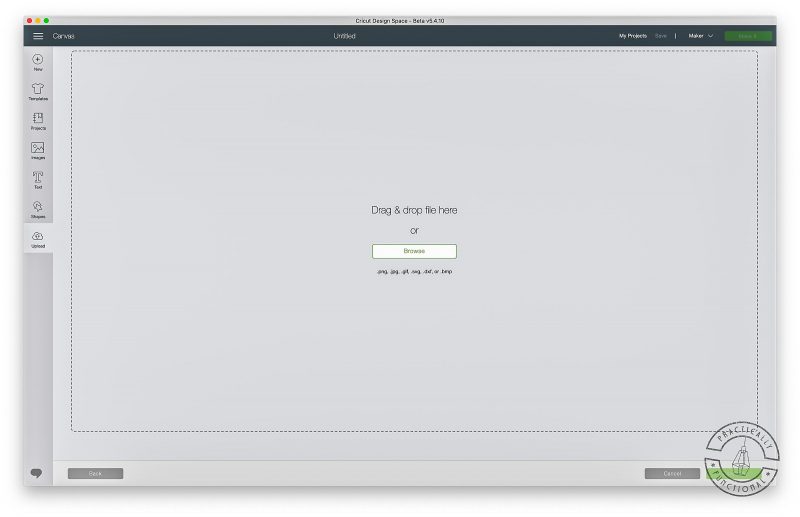
- Click the Upload button in the menu on the left, then drag and drop or browse your computer to find the downloaded file.
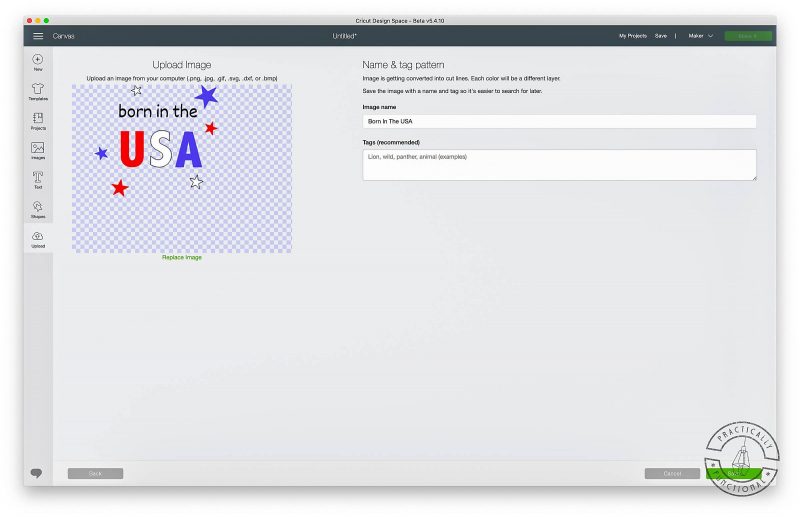
- Give the image a name and some tags if you’d like, then click the green Save button.
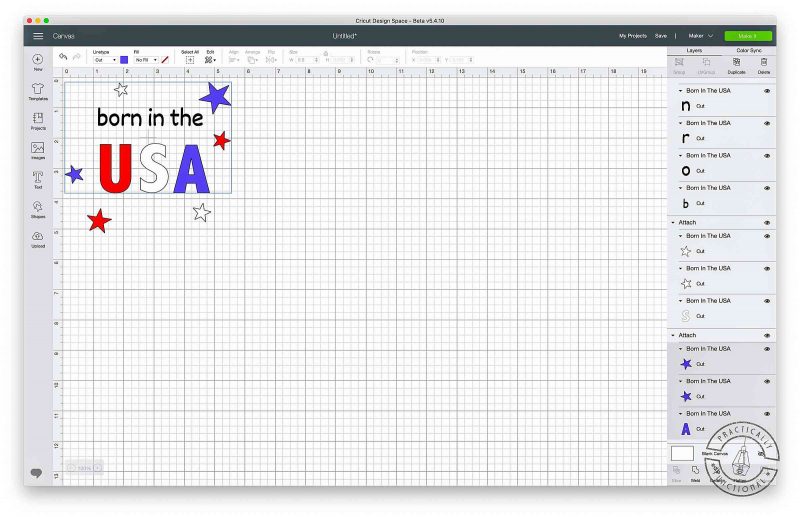
- Select all the layers in a single color and then click the Attach button at the bottom right. Repeat for all four colors.
- Click the green Make It button at the top of the page. On the preview mats screen, select each mat thumbnail and toggle the Mirror switch on, then click the green Continue button.
- On the Make screen, select Glitter Iron-On as the material.
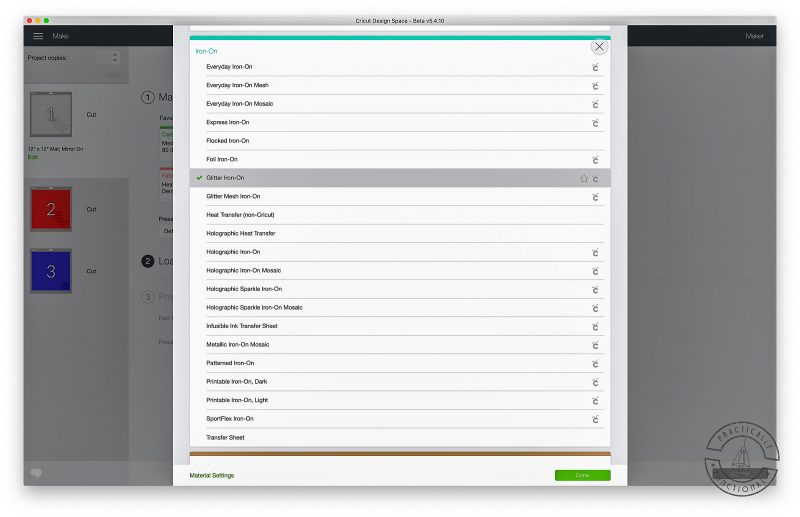
- Place the heat transfer vinyl onto the Cricut cutting mat with the shiny plastic side down.
- Follow the on-screen instructions to load the correct blade, then load the mat into the machine. Press the Go button to begin the cut.
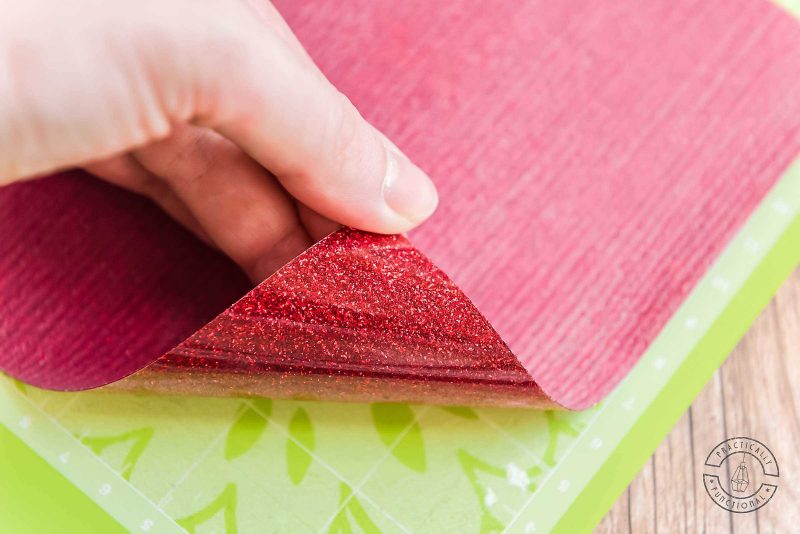
- When the cut is finished, unload the mat from the machine and carefully remove the heat transfer vinyl from the mat. Weed away the background vinyl, leaving the graphic on the clear plastic backing.
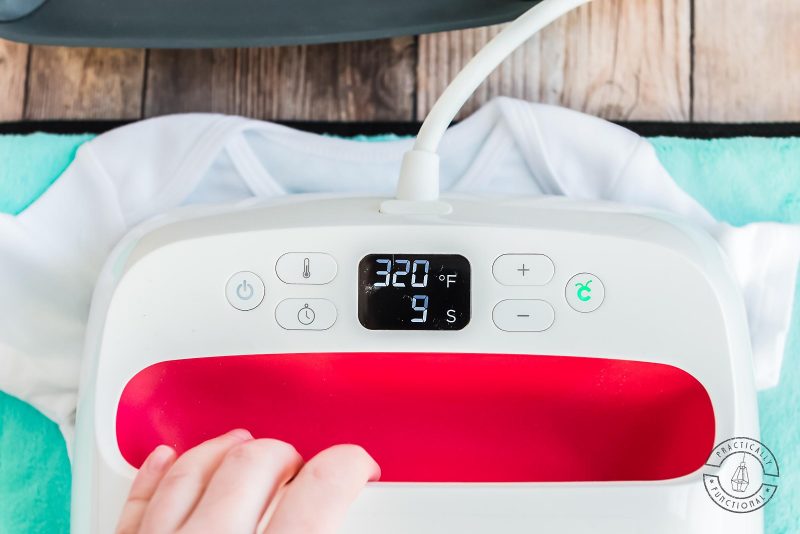
- Preheat your EasyPress according to the Cricut heat guide. Then position the heat transfer vinyl on your blank onesie with the shiny plastic side up.
- Once the EasyPress is pre-heated, press the onesie for thirty seconds (or whatever the recommended time is in the Cricut heat guide), then flip the shirt over and press again from the back.
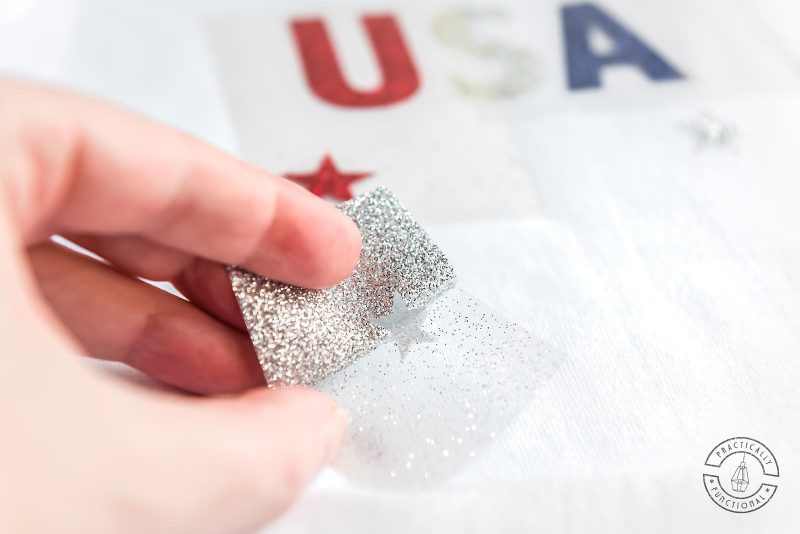
- Carefully peel away the plastic backing.Repeat the pressing process for each additional color in the design, making sure the colors on your onesie line up correctly. Once you peel the plastic backing off the final color, you’re done!
Notes
EasyPress temperatures and press times vary from material to material. Check the Cricut heat guide to determine the correct pressing process and temperatures for your specific material.
Save your favorite projects!
Create a free account to easily save your favorite projects, tutorials, and recipes.
Create Account