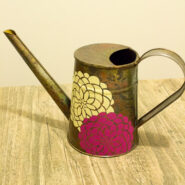
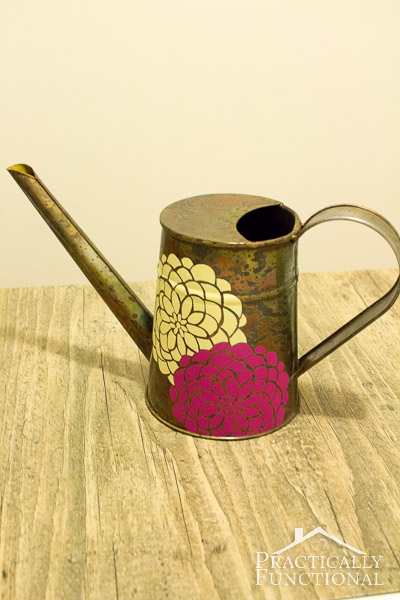
Decorate A Watering Can With Adhesive Vinyl
Use adhesive vinyl to personalize and decorate a watering can—this simple project will add color to any boring watering can, and it only takes a few minutes!
Active Time 15 minutes
Cutting Machine Wait Time 5 minutes
Total Time 20 minutes
Yield 1 colorful watering can
Cost $4
Equipment
Materials
- 2 sheets permanent (outdoor) vinyl in two different colors
- transfer tape
- watering can
- x-acto knife
- dahlia flower image
Instructions
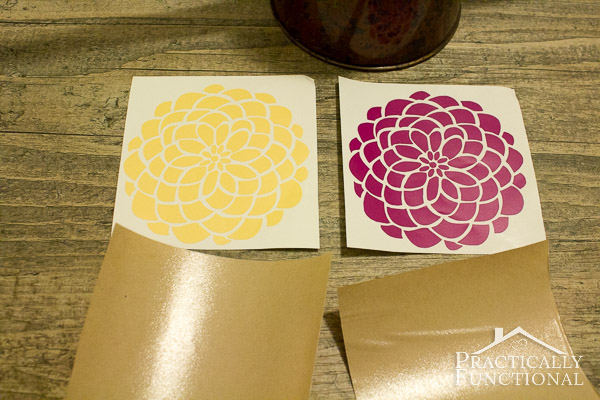
- Using your Cricut or Silhouette, cut out two dahlia flowers from adhesive vinyl, using two different colors of vinyl. Once they're cut, weed away the background vinyl and cut two squares of transfer paper to the same size as the flowers.
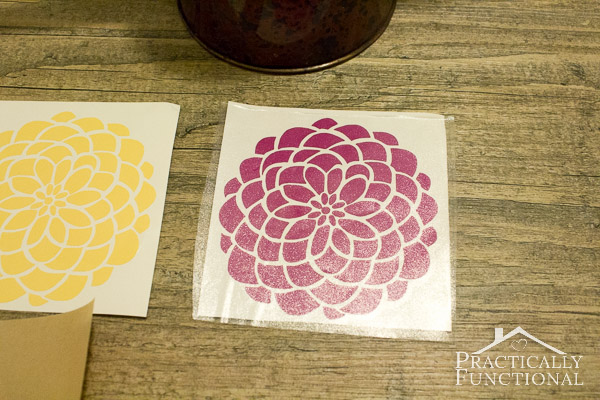
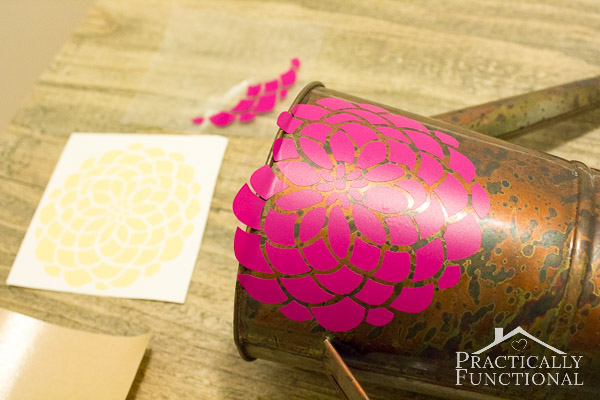
- Apply a piece of transfer paper on top of one of the flowers, pressing down over the entire flower to ensure the transfer paper is firmly attached to the vinyl underneath.
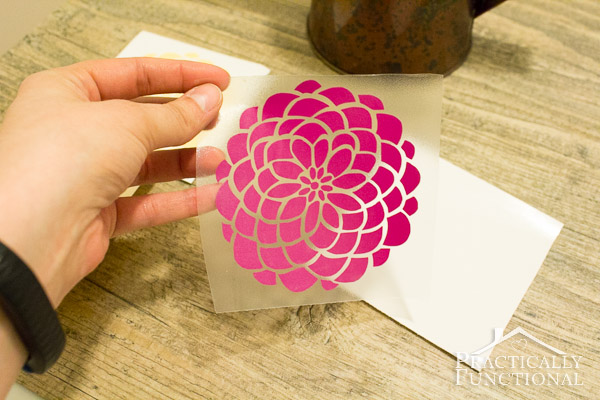
- Carefully peel the transfer paper and vinyl flower off of the backing paper.
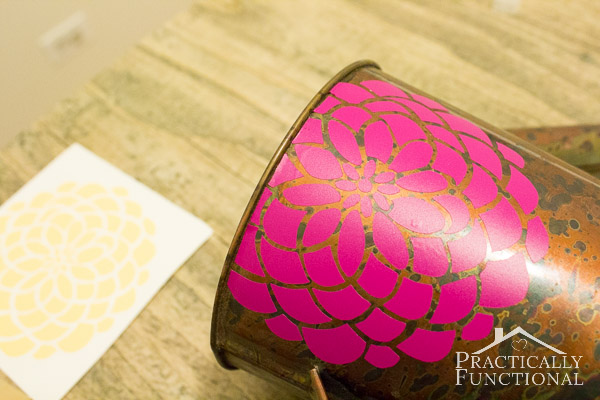
- Position the vinyl flower on your watering can, hanging off the bottom slightly if you want. Press firmly across the entire flower to ensure each piece is securely attached.
- Using an x-acto knife, trim any overhanging vinyl so that it is flush with the bottom edge of the watering can.
- Use the same transfer paper process to apply the second vinyl flower to the watering can, slightly overlapping the first. Remove any pieces of yellow vinyl that completely overlap the purple flower, but leave any that only partially overlap.
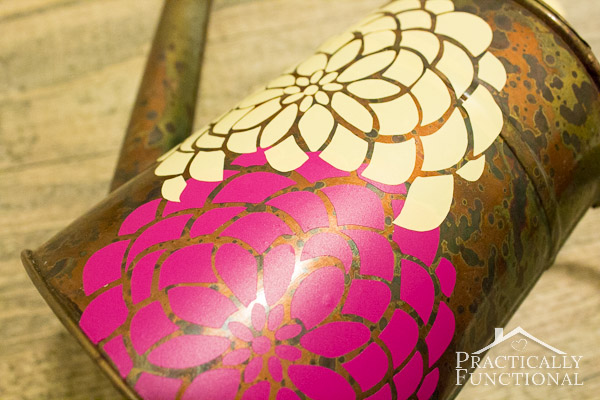
- Use an x-acto knife to trim any pieces of yellow vinyl that are overlapping the purple flower so that the two colors are just "touching" instead of "overlapping". And you're done!
Save your favorite projects!
Create a free account to easily save your favorite projects, tutorials, and recipes.
Create Account