
It’s definitely summer time now, and it’s starting to get hot here in Chicago! I’m seven months pregnant, and I’m not looking forward to the next few months! I bought a few plain maternity tank tops and have been wearing them every day, but they’re kinda boring. So I decided to decorate my white maternity tank top. At first I was going to tie dye the whole shirt, but then I realized I could probably try something a little fancier and use tie dye to create a cool design. And it worked; check out this tutorial on how to tie dye a shirt using spray tie dye!


I really love tie dye, but I’m not super skilled at making all the cool designs that you see some people making. So I was really excited when I realized you can put tie dye in a spray bottle and use it over a stencil! You still get the fun colors and designs of the dye itself, but with a stencil you can easily keep the dye “corralled” to only the areas where you want it!
How To Tie Dye A Shirt With Spray Tie Dye
Here’s what you need: (affiliate links below to the products I use and recommend)
- a plain white shirt
- tie dye
- spray bottles
- freezer paper
- Silhouette Cameo (or scissors or an X-acto knife and steady hands)
- an iron
NOTE: If you use plastic spray bottles, tie dye may permanently stain the bottles. So either grab a few glass bottles, or use cheap plastic ones that you don’t mind staining!

Start by designing your stencil. I had my Cameo cut the design out from freezer paper, but you can cut it out by hand if you’d prefer. When you design your stencil, make sure to leave a big border of freezer paper to protect the rest of the shirt from overspray. And remember, the shiny side of the freezer paper goes down!

Once your stencil is cut out, gently iron it down onto your shirt, shiny side down. The shiny side of the freezer paper will stick to the fabric after just a few seconds of ironing, but be sure to press down for at least 10 to 15 seconds to make sure all of the edges are really well stuck.
I ironed a few extra scraps of freezer paper around the outside of the stencil as well so that the entire front of my white shirt was covered in freezer paper except for the holes in the stencil.
Then go outside and spread your shirt out somewhere where you won’t get dye all over everything. NOTE: With normal tie dye you usually get the shirt wet before you start dying, but for spray tie dye make sure your shirt is dry or the dye will run under your stencil!
I hung my shirt on our clothesline, but you can lay it out on a cardboard box or on a table or whatever. And before you start spraying your tie dye, be sure to put something inside the shirt to protect the back of the shirt from the dye you are spraying onto the front. I used a plastic garbage bag and clipped it inside the shirt when I hung it up, but if you lay your shirt flat on a table you can use a small piece of cardboard instead.

Once your shirt is fully covered up except for the stencil, it’s time to dye the shirt! Mix up the tie dye according to the instructions on the package; for the Tulip tie dye that I used, all you do is fill the bottle with water and shake to mix up the powder. Once the dye is mixed up, pour it into a small spray bottle.
Hold the spray bottle about 6″-12″ from the shirt and start spraying! Be sure to spray a nice light coat of dye. If you spray too much dye the shirt will get saturated and the dye will run under the edges of your stencil.

You have a little more control over which color goes where with spray tie dye, but just like normal tie dye, you’re going to get some variations, so embrace it! My shirt ended up with a few thicker dots on it from droplets of spray that didn’t atomize as well as the rest of the dye, but I think it gives it character and makes it unique!
And feel free to add multiple colors! You can spray the colors one on top of the other and they will start to combine because the dyes are still wet. Or if you want very distinct, separate colors, just spray one color, wait for it to dry, then spray the next color. The colors will still combine slightly where they overlap, but the two dyes won’t mix.

Once you’re happy with the colors, it’s time to remove the stencil. Gently pull the freezer paper off of the shirt to reveal your gorgeous design below!

I love how easy it is to get crisp, clean lines with spray tie dye! You still get the fun, bright colors, but you have a lot more control over the design.

I put the heart low on the shirt because this is one of my maternity shirts, and when it’s this low it will be situated right on top of my baby bump!


Want to share this tutorial with your friends? Just click any of the share buttons off to the left to share with Facebook, Pinterest, Twitter, etc.!
If you want to see more Silhouette tutorials, check out my Silhouette project gallery to see every project I’ve ever done with my Silhouette, or check out some of my favorites below!


Want to Check Out More Silhouette Projects?
My Silhouette Challenge buddies and I are all sharing projects on our blogs today, so peruse the projects below for a wealth of Silhouette inspiration!
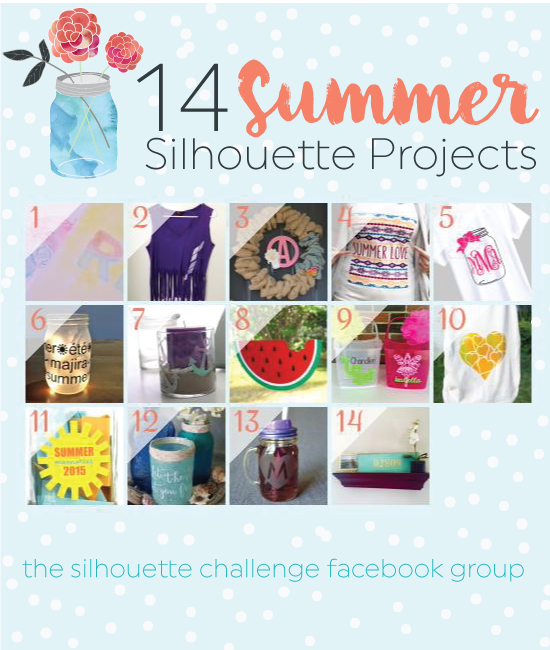
1. Home At Eight // 2. DIY Just Cuz {Sam} // 3. DailyDwelling // 4. Where The Smiles Have Been // 5. My Paper Craze // 6. Get Silvered // 7. DIYJustCuz {Brittany} // 8. Whatcha Workin' On? // 9. The Stamp Doc // 10. Practically Functional // 11. Simply Kelly Designs // 12. Patina Paradise // 13. Architecture of a Mom // 14. Weekend Craft


Jayden says
Doesn’t the dye run and spread when you wash it though??
Jessi Wohlwend says
Nope! Just follow the washing instructions on the package of dye to set the dye and rinse it. Then you can wash it and dry it with no issues!
Michelle from Weekend Craft says
What a brilliant idea! I have a tie dye kit from snap conf which I wasn’t sure how to use. I never thought to put it in a spray bottle. Love the gradient you have going on.
Becca says
I just love this. How clever to place the art right on your bump. I have in my head that tie-dye is difficult, but this looks so simple.
Jessi Wohlwend says
It’s definitely the easiest way I’ve ever done tie dye! And pretty much mess-free too!
Brittany @ DIY Just Cuz says
So cute!! I love that the heart will fall right on your baby bump–that’s too darling! I’m not a huge fan of tie-dying simply because it’s always a huge process but SPRAY tie-dying?! That sounds right up my alley! Thanks for sharing this!
–Brittany
http://www.diyjustcuz.com
Sam @ DIY Just Cuz says
This is great! As I mentioned in my tutorial for the Silhouette Challenge I couldn’t use freezer paper because my design was so sharp it kept ripping! How did you avoid that problem? I ended up using contact paper to stencil because it was more durable. I also didn’t know you could tie-dye this way!
Jessi Wohlwend says
Yeah freezer paper is a little finicky sometimes… I had a few sharp corners, like the bottoms of the hearts, that got a little ripped up. I just slowed the cutting speed down a ton and lowered my blade one lower. There were still a few wrinkles and tears, but the great thing about freezer paper is that you’re just going to iron it on later, so you can just smooth the wrinkles out or line up the tear and iron it on and it works perfectly!
Eff Brock says
This is really pretty. I never would have thought to use tie dyes in this way…thanks for the tutorial!
Lauren @ The Thinking Closet says
Most adorable baby bump tee EVER! I love the tie dye effect you can get with those spray paints. You’ve opened me up to a whole new world of possibilities with this one, Jessi. Brava! Off to pin this gem….